विषय-सूची
यदि आप जानते हैं कि क्या करना है तो बाथरूम का नवीनीकरण या रीमॉडेलिंग एक आसान काम हो सकता है। यदि आप चाहते हैं कि बाथरूम आपके इमेजिनेशन के अनुरूप दिखे तो सैनिटरीवेयर की सही स्थापना आवश्यक है। बुनियादी सैनिटरीवेयर स्थापित करना आसान है और इसे पेशेवर मदद के बिना किया जा सकता है। सैनिटरीवेयर स्थापित करने से आपको अपने बाथरूम में स्थापित उत्पादों के बारे में अधिक जानकारी प्राप्त करने में भी मदद मिलती है और छोटे-मोटे नुकसान और फिक्स को ठीक करना आसान और त्वरित हो जाता है।
यदि आप सैनिटरीवेयर लगाने की योजना बना रहे हैं और यह नहीं जानते कि क्या कहाँ जाता है और कौन सा उपकरण क्या करता है, तो आप सही ब्लॉग पढ़ रहे हैं। निम्नलिखित टिप्स आपको अपने सैनिटरीवेयर को बेहतर ढंग से समझने में मदद करेंगे और आपको उन्हें स्थापित करने के बारे में सही जानकारी देंगे।
अपने आप सैनिटरीवेयर कैसे लगायें
1. भंडारण
यदि आपने पहले से ही उन फिटिंग को खरीद लिया है जिन्हें आप अपने बाथरूम में स्थापित करने की योजना बना रहे हैं लेकिन अभी तक उन्हें स्थापित करने की योजना नहीं बना रहे हैं, तो उन्हें सुरक्षित रूप से स्टोर करना आवश्यक हो जाता है। बाथरूम की फिटिंग असाधारण रूप से नाजुक होती हैं, और थोड़ा सा झटका भी उन्हें उन जगहों से तोड़ सकता है जो उनके कामकाज में बाधा डाल सकते हैं या स्थापित होने पर उन्हें बदसूरत बना सकते हैं। सैनिटरीवेयर को सुरक्षित रूप से स्टोर करने का सबसे अच्छा तरीका है उन्हें एक अच्छी तरह हवादार क्षेत्र में एक सपाट सतह पर रखना। निर्माता द्वारा दिए गए निर्देशों का पालन करें।
प्लंबिंग, ड्रेनेज और टाइल्स स्थापित करने के बाद, आप अपने बाथरूम में सैनिटरीवेयर स्थापित करना शुरू कर सकते हैं।
2. बेसिन
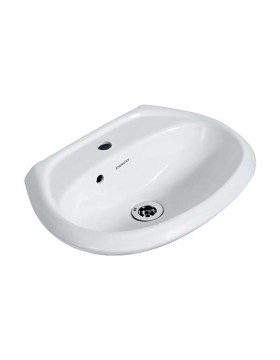
प्लंबिंग और टाइलिंग पूरा करने के बाद, आप आगे ये कर सकते हैं:
- अपने बेसिन के लिए सही जगह चुनें।
- बेसिन द्वारा लिए गए स्थान के आधार पर, एक ऐसी वैनिटी चुनें जो आपके बेसिन के पूरक हो।
- बेसिन को टेम्पलेट के रूप में रखते हुए, एक काउंटर चुनें।
लकड़ी के काउंटरटॉप्स के लिए फिक्सिंग क्लिप का उपयोग किया जाना चाहिए, और मार्बल काउंटरटॉप्स को लकड़ी के ढांचे का उपयोग करके समर्थित किया जा सकता है। बेसिन रखने के बाद, रिम और जोड़ को सील करें, और एक वाटरप्रूफ सीलेंट के साथ कैप करें। मिक्सर के स्थान को बेसिन पर चिह्नित करें और उसी को काट दें।
3. शावर
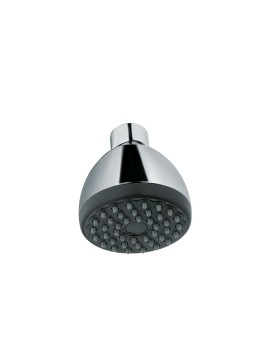
शावर स्थापित करना उतना ही आसान है जितना लगता है। टाइलिंग कार्य शुरू होने से पहले, उस स्थान को चिह्नित करें जहां शॉवर जाता है और गर्म और ठंडे पानी के बिंदुओं को तदनुसार समाप्त करें। टाइलिंग के बाद, शॉवरहेड फिट करें और जोड़ या टोपी को वाटरप्रूफ सीलेंट से ढक दें।
4. टॉयलेट
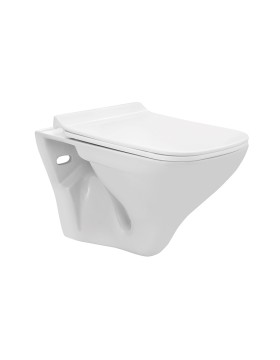
उचित प्लंबिंग का ध्यान रखने के बाद, सिस्टर्न को दीवार पर असेंबल और माउंट करें। सिस्टर्न इनलेट और फ्लश आउटलेट को उपयुक्त फिटिंग के साथ कनेक्ट करें। ड्रेनेज पाइप को डब्ल्यू.सी. कनेक्टर प्राप्त करने के लिए उचित रूप से तैनात किया जाना चाहिए। वाटर क्लोजेट को फर्श पर लगाया जाना चाहिए और फिक्सिंग पॉइंट्स को चिह्नित करना चाहिए। स्क्रू के लिए फर्श पर छेद बनाएं और सुनिश्चित करें कि वाटर क्लोजेट रिम कनेक्टर के रिम पर सही ढंग से स्थित है।
सैनिटरीवेयर स्थापित करना मुश्किल नहीं है यदि आप जानते हैं कि कौन सा पेग किस छेद में जाता है, लेकिन गलती करने की संभावना है। ये छोटी-मोटी चूक दिखाई नहीं दे सकती हैं, लेकिन वे किसी समय आपके बाथरूम के अनुभव को प्रभावित कर सकती हैं। अपने बाथरूम को हर समय साफ और सुचारू रूप से काम करने के लिए, सर्वश्रेष्ठ सैनिटरीवेयर ब्रांड एस्को पर स्विच करें। अन्य सैनिटरीवेयर की दुकानें बाथरूम फिटिंग की पेशकश करती हैं जो कीमत और गुणवत्ता दोनों में सस्ती होती हैं। हमारे उत्पाद टिकाऊ, विश्वसनीय हैं, और उच्चतम गुणवत्ता वाली सामग्री से बने हैं, सबसे अच्छी बात यह है कि वे आपके बैंक को नहीं तोड़ेंगे।

